Using nbgrader for Classroom
Using ngbrader in Jupyter
Install nbgrader
You can install nbgrader in a notebook:
- Launch a Juypter session from class.osc.edu
- Open a new notebook
- To Install nbgrader, run:
!pip install nbgrader
!jupyter nbextension install --sys-prefix --py nbgrader --overwrite
!jupyter nbextension enable --sys-prefix --py nbgrader
!jupyter serverextension enable --sys-prefix --py nbgrader
To check the installed extensions, run
!jupyter nbextension list
There are six enabled extensions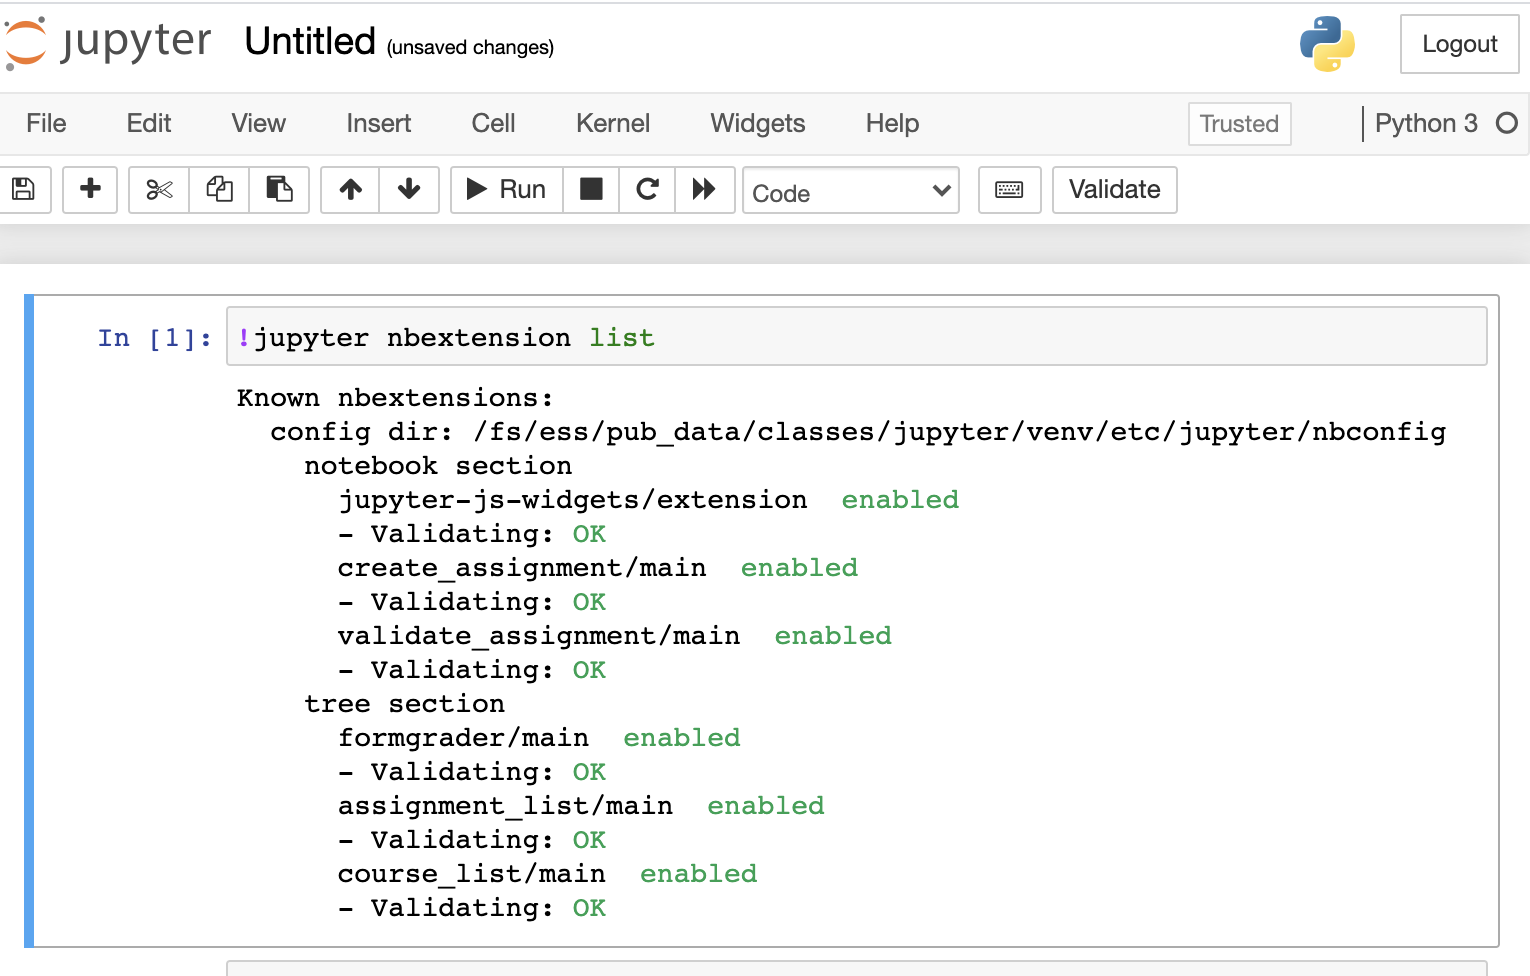
Configure nbgrader
In order to upload and collect assignments, nbgrader requires a exchange directory with write permissions for everyone. For example, to create a directory in project space, run:
%%bash
mkdir -p /fs/ess/projectID/courseID/exchange
chmod a+wx /fs/ess/projectID/courseID/exchange
Then get your cousre ID for configuratin. In a notebook, run:
%%bash
echo $OSC_CLASS_ID
Finally create the nbgrader configuration at the root of the workspace. In a notebook, run
%%file nbgrader_config.py
c = get_config()
c.CourseDirectory.course_id = "courseID"     # it must be the value of $OSC_CLASS_ID
c.Exchange.root = "/fs/ess/projectID/courseID/exchange"
c.Exchange.timezone = 'EST'
Once the file is created, you can launch a new Jupyter session then start creating assignments. For using nbgrader, please refer the nbgrader documents.
Access assignments
To let students access the assignments, students need to have the following configuration file in the root of their workspace:
%%file nbgrader_config.py
c = get_config()
c.Exchange.root = "/fs/ess/projectID/courseID/exchange"